Human Skills
Compass Basics and Taking a Bearing
Point yourself the right way even in fog or forest
6 minAdvancedUpdated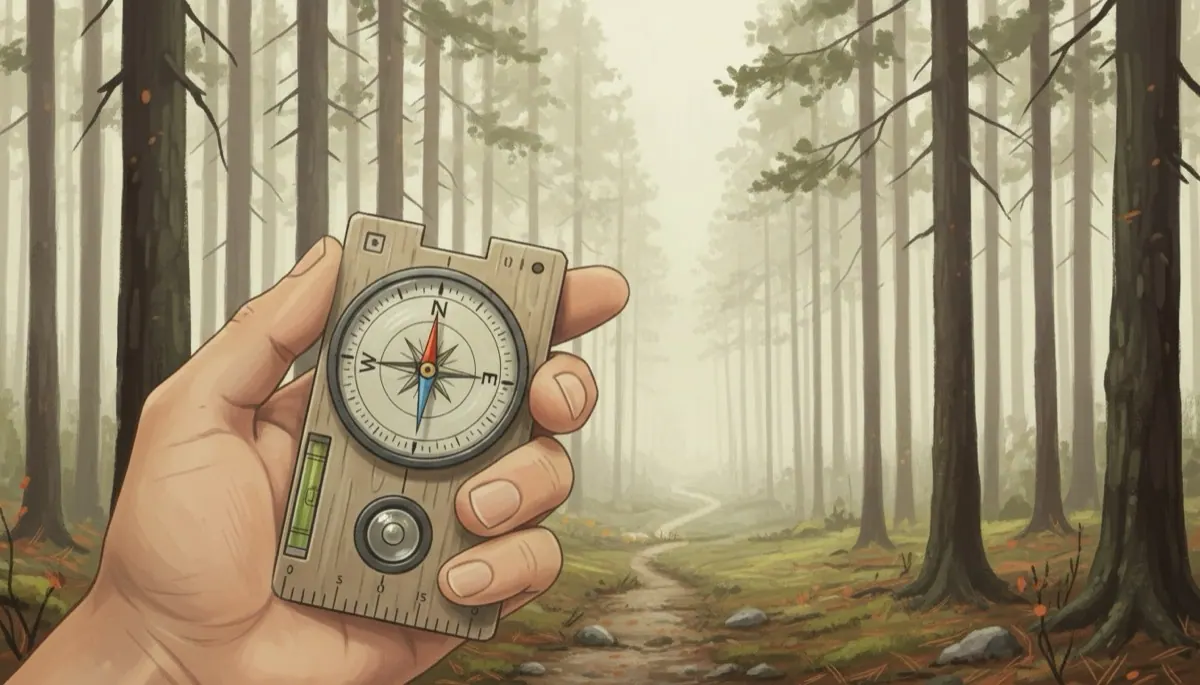
- Name the parts of a baseplate compass and hold it correctly
- Take a bearing from the map and follow it on the ground
- Adjust for magnetic declination and walk a straight line
The baseplate compass
A baseplate compass has a clear plastic base with a direction of travel arrow, a rotating bezel marked 0 to 360 degrees, a magnetic needle with a red end pointing to magnetic north, and an orienting arrow with parallel lines printed inside the bezel. Hold it flat at chest height, away from phones, metal zips, knives and car bodies, which all pull the needle. Turn your whole body, not the compass, until the red needle sits inside the orienting arrow; this is called putting red in the shed. The direction of travel arrow now points along whatever bearing is set on the bezel.
Three norths
True north is the geographic pole. Grid north is where the map's grid lines point, usually very close to true north. Magnetic north is where the needle points, and it differs from grid north by an angle called declination, which varies by location and drifts every year. In Portugal in 2026 the difference is roughly 1 to 2 degrees west, small enough to ignore on short legs; in parts of North America it exceeds 15 degrees and would put you kilometres off over a long walk. Your map's margin states the local declination and its yearly change. Some compasses let you set it once on an adjustment screw.
Taking a bearing from the map
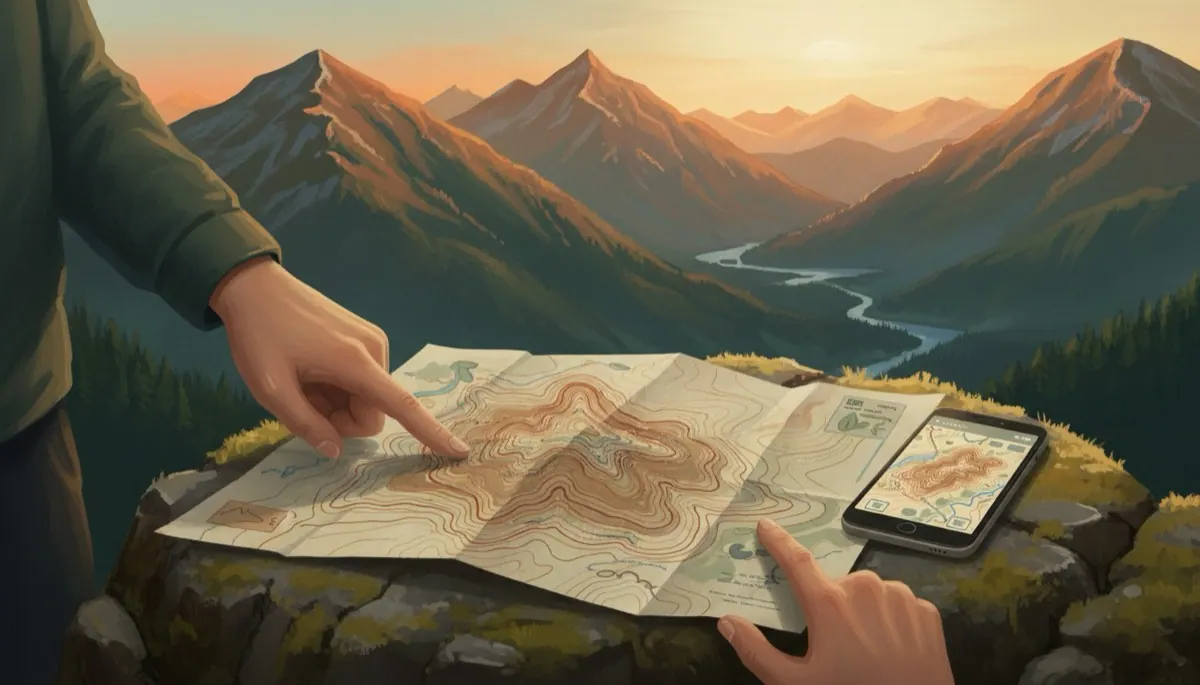
Place the long edge of the baseplate along the line from where you are to where you want to go, with the direction of travel arrow pointing towards the destination. Ignore the needle entirely for this step. Rotate the bezel until the orienting lines inside it run parallel to the map's north-south grid lines, with the orienting arrow pointing to the top of the map. Read the bearing at the index line where the bezel meets the direction of travel arrow. If declination is west, add it to the number; if east, subtract it. Now the compass is set. Lift it from the map.
Following the bearing
Hold the compass flat and turn your body until red is in the shed. Look along the direction of travel arrow and pick a landmark on that line, ideally 50 to 200 metres away: a distinct tree, a boulder, a corner of a wall. Walk to it without looking at the compass, then repeat. Picking landmarks stops you drifting downhill or around obstacles, which is how people walk in circles. In fog, send a companion ahead to the edge of visibility, line them up with the bearing and walk to them. Count paces on each leg so you also know roughly how far you have gone.
Back bearings and getting unlost
A back bearing is your bearing plus or minus 180 degrees; it points back the way you came, so you can retrace a leg exactly. To check where you are, take a bearing on a visible landmark you can identify on the map, subtract or add 180, and draw that line from the landmark on the map; you are somewhere on it. Do this from two landmarks and you are where the lines cross. If you are truly unsure, stop, sit down, drink, and think before moving. Most people who become lost make it worse by walking fast in the direction they hope is right.
Check yourself
With red in the shed, the direction of travel arrow points along the bearing set on the bezel.
Map bearings come from lining the baseplate and orienting lines with the map; the needle only matters when you follow the bearing on the ground.
Add 180 to a bearing under 180, subtract 180 from one over 180. 60 plus 180 is 240.
Walking to a fixed object keeps your line straight; watching the needle while moving lets terrain push you off course.
Try it for real: Walk a compass triangle
- In an open park, set a bearing of 0 degrees and walk 50 paces to a marker
- Set 120 degrees and walk 50 paces, then 240 degrees and walk 50 paces
- Measure how close you are to your start; under 5 metres is excellent
- Repeat with your eyes on a landmark each leg rather than on the compass
🛒 Gear for this skill
As an Amazon Associate I earn from qualifying purchases. It costs you nothing extra and keeps this site free.
Next lesson: Reading Weather and Lightning Safety →
Written and checked by the Human Skills team against the sources below. How we check our content
- Ordnance Survey Map Reading guide
- Mountaineering: The Freedom of the Hills
- NOAA World Magnetic Model