 Human Skills
Friction Fire: The Bow Drill
Make an ember with wood alone, and understand why it takes practice
8 minAdvancedUpdated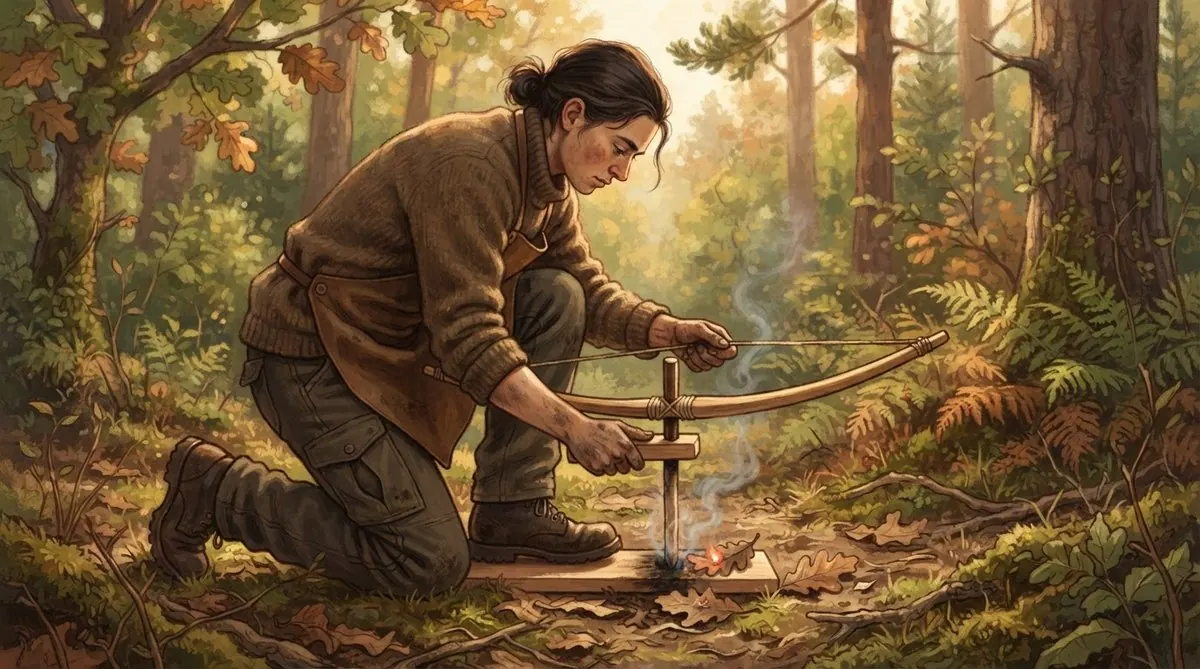
- Choose suitable woods for a bow drill set
- Make and use a spindle, fireboard, bearing block and bow
- Turn an ember into flame and diagnose common failures
Be honest: this is hard
The bow drill is one of the oldest ways to make fire and one of the most satisfying, but it is genuinely hard. Most people need many practice sessions before they get their first ember, and even experts fail with poor wood or damp weather. It also uses a lot of energy, which you may not have in a real emergency. Treat it as a skill to learn at home or on a course, with a lighter in your pocket as your real plan. Learning it teaches you a lot about wood, heat and patience, and those lessons make every other fire easier.
Choosing the wood
Use dry, dead, soft-to-medium wood that you can just dent with a thumbnail. Good choices include willow, lime or linden, cedar, poplar, alder, hazel, and sotol or yucca stalks in dry country. Avoid resinous pine, which glazes and slips, and very hard woods like oak, which need huge effort. The wood must be bone dry: dead branches that snap cleanly, never from the damp ground. Using the same wood for spindle and fireboard is the easiest start. If the wood smokes but makes shiny black glaze instead of dust, it is too hard or too damp.
The four parts
The spindle is a straight stick about thumb thick and 20 to 25 centimetres long, pointed at the top and rounded at the bottom. The fireboard is a flat piece of the same wood about 2 centimetres thick. The bearing block is a hard piece of wood or stone with a small dip that holds the top of the spindle; a drop of fat or lip balm there reduces friction where you do not want it. The bow is a slightly curved stick about arm length with a strong cord tied so it has a little slack. Carve every part carefully, kneeling and cutting away from your body.
Burn in and cut the notch
Kneel with your left foot on the fireboard if you are right-handed. Loop the cord once around the spindle, set the rounded end on the board near the edge, press down with the bearing block braced against your shin, and saw the bow with long, steady strokes until you burn a shallow round socket. Then cut a V-shaped notch from the board's edge into the centre of the socket, about one eighth of the circle. The notch is where hot dust collects and forms an ember. Put a dry leaf or bark chip under the notch to catch it.
Drilling to an ember
Use the full length of the bow in smooth, even strokes. Start slowly to warm the wood, then increase speed and downward pressure as smoke appears. Keep the spindle upright and your wrist locked against your shin. Keep going for twenty to thirty seconds after heavy smoke starts, until the notch is full of dark brown or black dust. Stop and lift the spindle away carefully. If the dust pile keeps smoking on its own, you have an ember. Let it grow for a few seconds, gently fanning it with your hand, before you move it.
Ember to flame, and common failures
Tip the ember gently into the centre of a dry tinder nest, fold the nest loosely around it and blow long, gentle breaths until smoke thickens and it bursts into flame. Have your teepee ready before you start drilling. Common failures: the cord slips because it is too loose; the spindle jumps out because the socket is too shallow or the spindle is not vertical; the dust is pale and coarse because you need more speed and pressure; shiny glaze means the wood is too hard or damp. Only practise where and when fires are legal, with water beside you.
Check yourself
Soft, dry, dead wood produces fine hot dust. Hard, green or resinous wood glazes and slips.
The notch lets hot wood dust gather in one place until it is hot enough to become an ember.
Glazing is a sign of wood that is too hard or not dry enough. Switch to a softer, drier piece.
Friction fire is hard and tiring. Carry a lighter and ferro rod, and learn the bow drill as a backup skill.
Try it for real: Make a bow drill set
- Find dry dead willow, lime, cedar or similar soft wood and carve a spindle and fireboard, kneeling and cutting away from your body
- Make a bow and a bearing block, and burn in a socket
- Cut the notch and drill until you see heavy smoke and dust
- Only take it to an ember and flame where and when fires are legal, with water beside you
🛒 Gear for this skill
As an Amazon Associate I earn from qualifying purchases. It costs you nothing extra and keeps this site free.
Next lesson: Fire in the Rain →
Written and checked by the Human Skills team against the sources below. How we check our content
- Leave No Trace Center for Outdoor Ethics
- ICNF Portugal fire regulations
- US Forest Service campfire safety guidance
- Scout Association and Scouts BSA handbooks
Related lessons
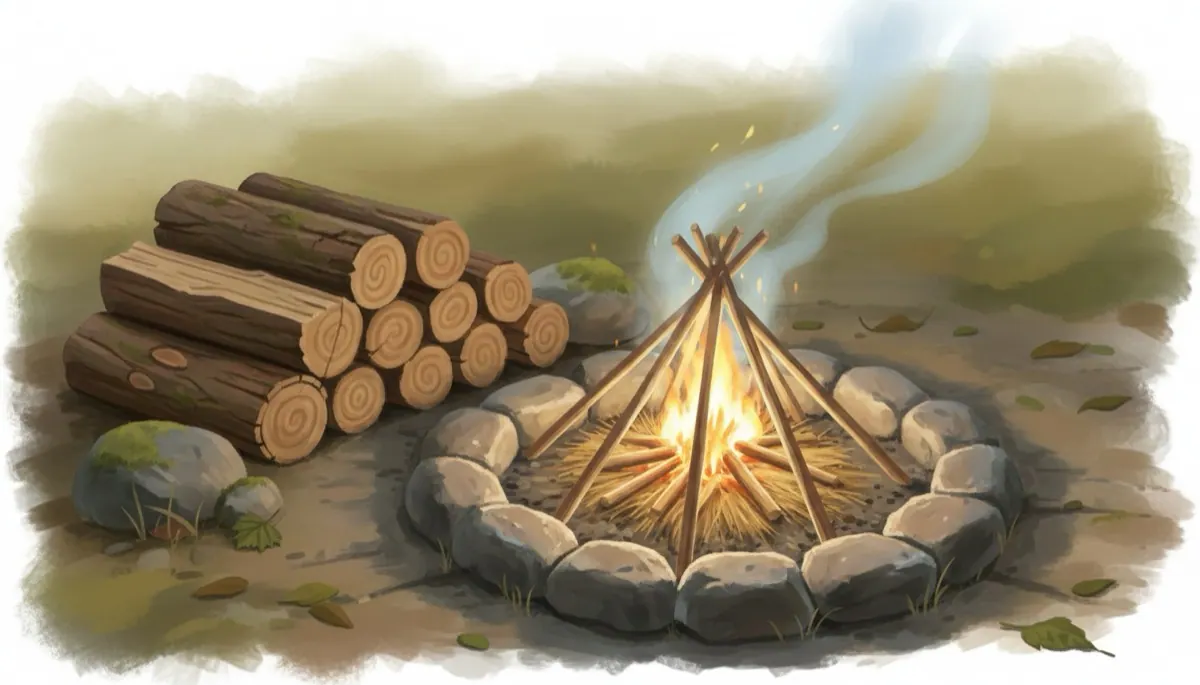
Fire Basics: Tinder, Kindling and Fuel
Build a small, controlled fire that lights first time
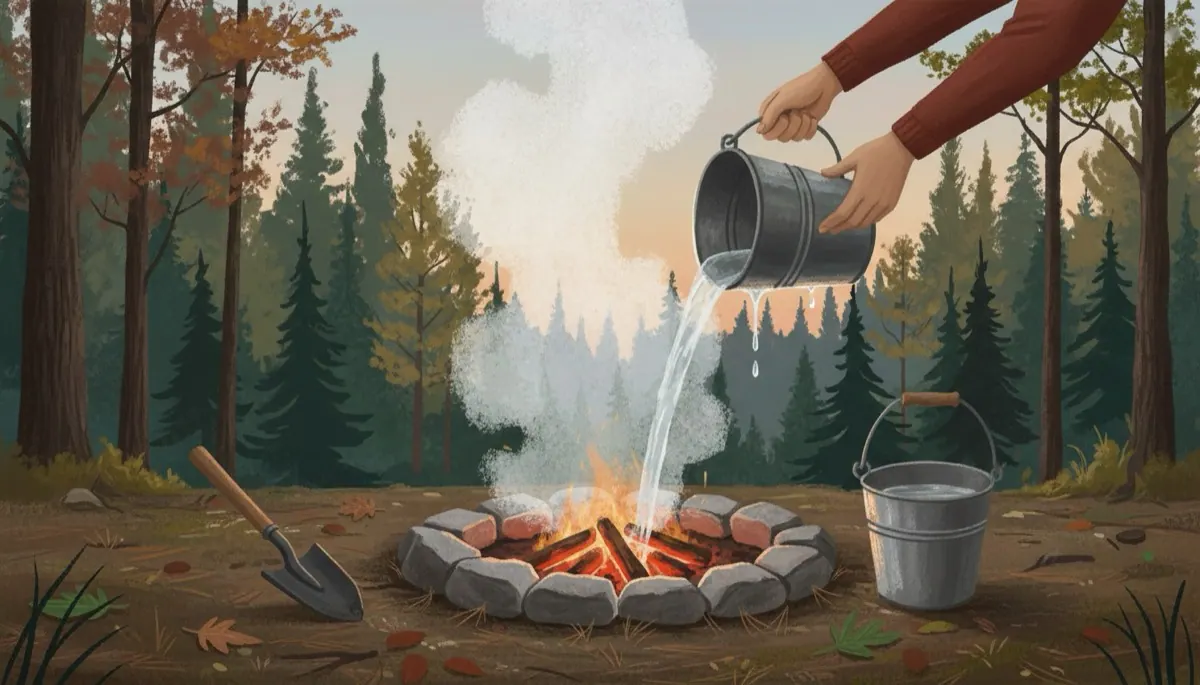
Fire Safety and Putting a Fire Out
Control, extinguish and never leave a hot spot behind
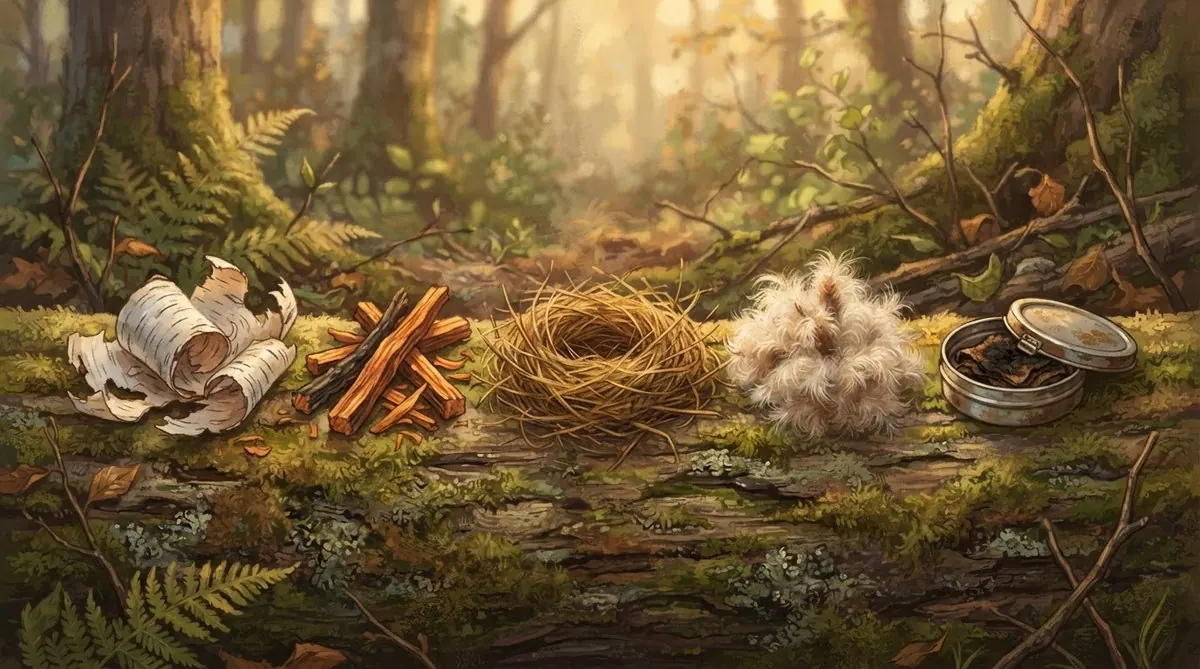
Natural Tinder: What Catches a Spark
Find, test and carry the fine fuel that turns a spark into flame
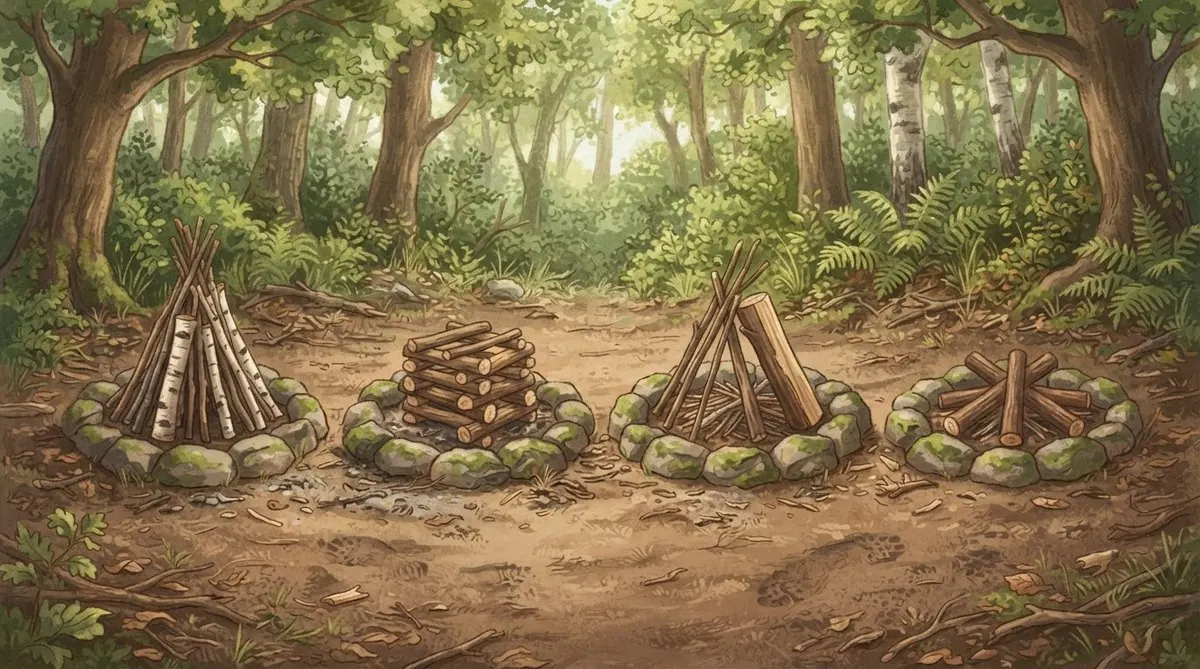
Fire Lays: Teepee, Log Cabin, Lean-to, Star
Choose the right fire structure for lighting, cooking, wind or a long burn